
Soil Assessment and Site Survey
Written by Hanjing Toh & Zoe Oomens
Learning Trail →Begin Your Regenerative Garden Journey
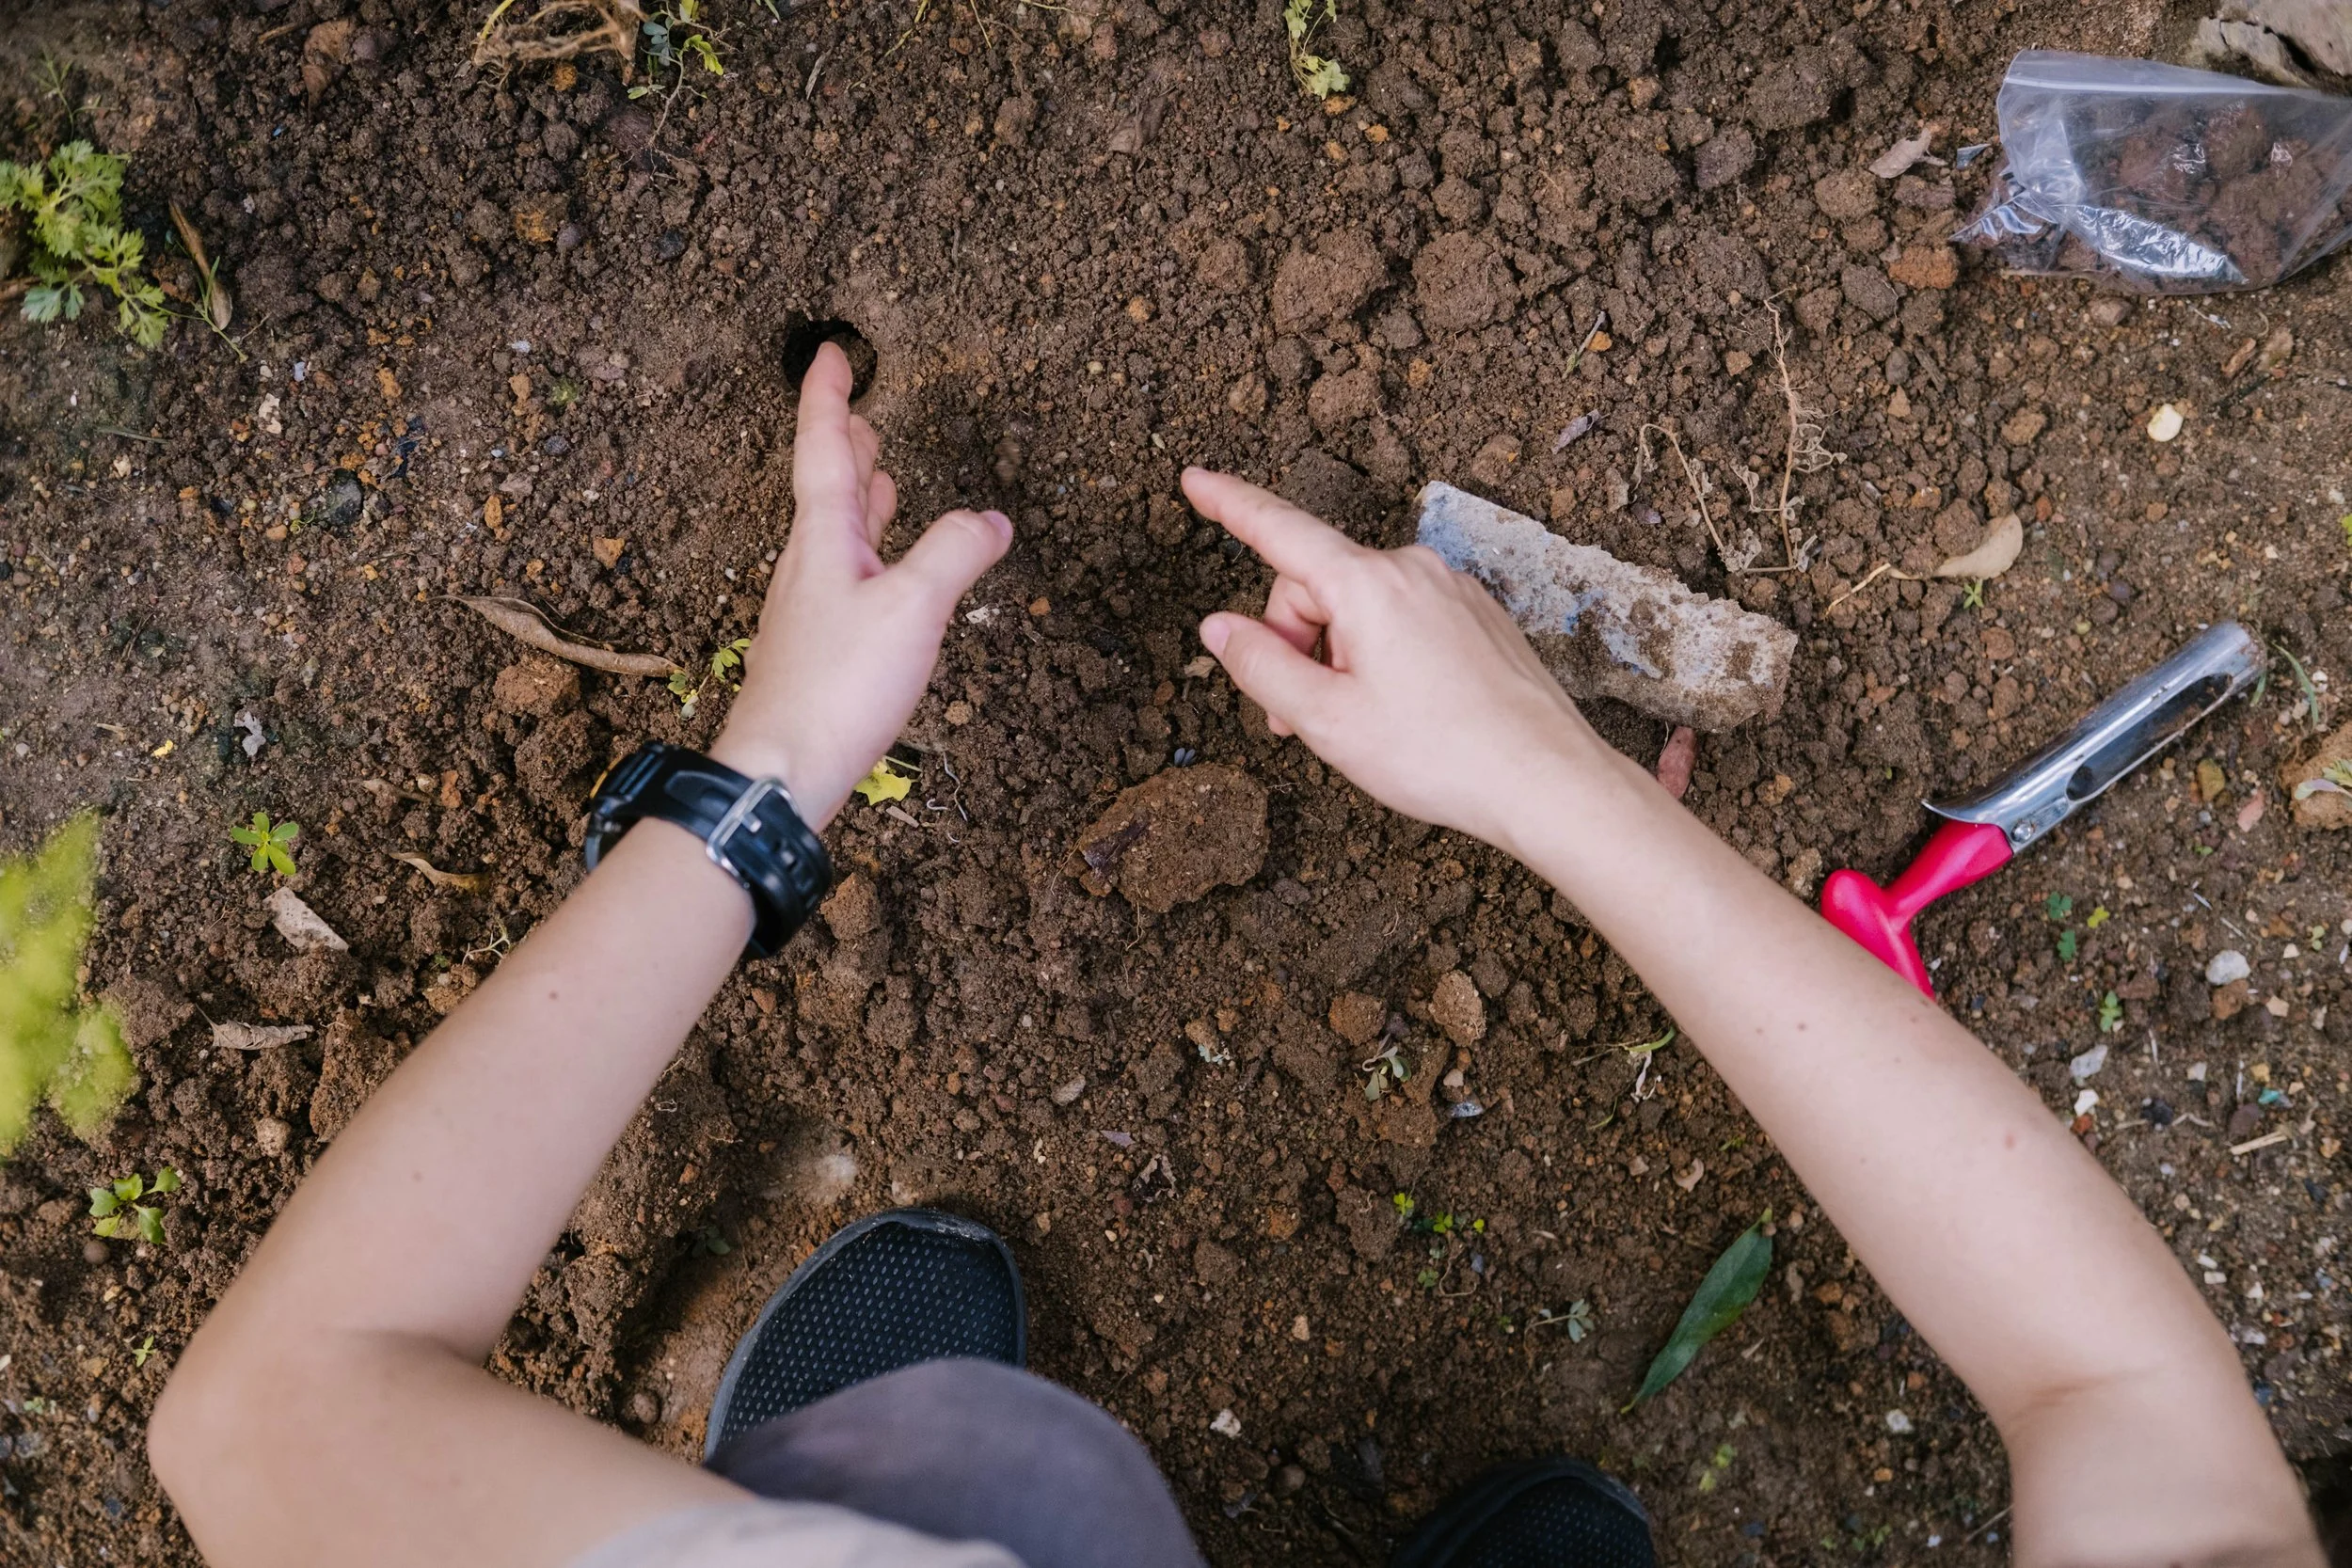
Overview
In this article, we explore how to conduct a site survey and soil assessment as the first steps in building a healthy and productive garden. By observing conditions like sunlight, wind, water access, nearby structures, and local biodiversity, gardeners can better understand their site before planting. Using real-life examples from community gardens in Singapore, the article shows how these factors shape planting choices and garden design. It also introduces simple and practical guides on how to assess soil health and structure.
Table of Contents
Successful gardening begins long before the first seed is sown or plant is placed in the ground. Creating a productive and resilient garden requires a thoughtful understanding of the space, its surrounding environment, and the living systems that support it. Before planting, it is helpful to take a holistic approach by observing the site’s existing conditions, natural elements, surrounding biodiversity, and practical considerations such as garden design and access to water. For this, we recommend conducting a site survey and soil assessment when first beginning. These steps not only help gardeners make informed decisions about what and where to plant, but also lay the foundation for a healthier and more abundant growing environment. The following sections outline key aspects to consider when evaluating a site and preparing the soil for successful planting.
Site survey: getting to know your gardening site
One of the first things we recommend doing is conducting a Site Survey. This involves observing and noting the various conditions that may be present in your garden. The following includes some areas to consider when doing your site survey.
Site Survey Questions
-
What did the soil bed used to grow? Were there previously or is there currently still construction debris in the soil? If so, can they be removed? What plant is growing on the soil now, if any?
-
Is there thick vegetation, forest or nature reserves nearby? Are there ponds, trees, tall buildings, etc in the vicinity?
-
The natural elements of sun, wind and rain are essential to plant growth and having access to or harnessing these natural resources could affect your choice and health of the plants that you can grow. For instance, is there direct or indirect sunlight on the planting bed? What is the sun’s path like across the site in the morning, at noon or in the late afternoon? How strong does the wind blow and in which direction? Are there any water-related issues such as ponding or water-logging areas?
-
Different living creatures play different roles in a healthy ecosystem and thus it is important to create or support as diverse an environment as possible. Observe for instance if there are wild or domesticated animals in the neighbourhood, e.g. dogs, cats, squirrels, monkeys, wild boars, civet cats or even otters. What about those that fly eg. migratory birds, carpenter bees, dragonflies, damselflies, or even bats? It is worth noting that animals such as bees, birds and dragonflies are important biodiversity indicators for your garden as well; consider including plants that may attract them.
-
Is it in-ground planting or planting using raised beds? What is the material to be used for doing the raised beds? Is the garden indoor, outdoor or on a rooftop? If it is not on the ground, what is the holding load of the ground? The garden design will also determine what the weather elements and the biodiversity of the environment is like.
-
Are there water points available and easily accessible to the gardeners? This is to facilitate watering, especially on extremely hot days and for gardeners to do washing up.
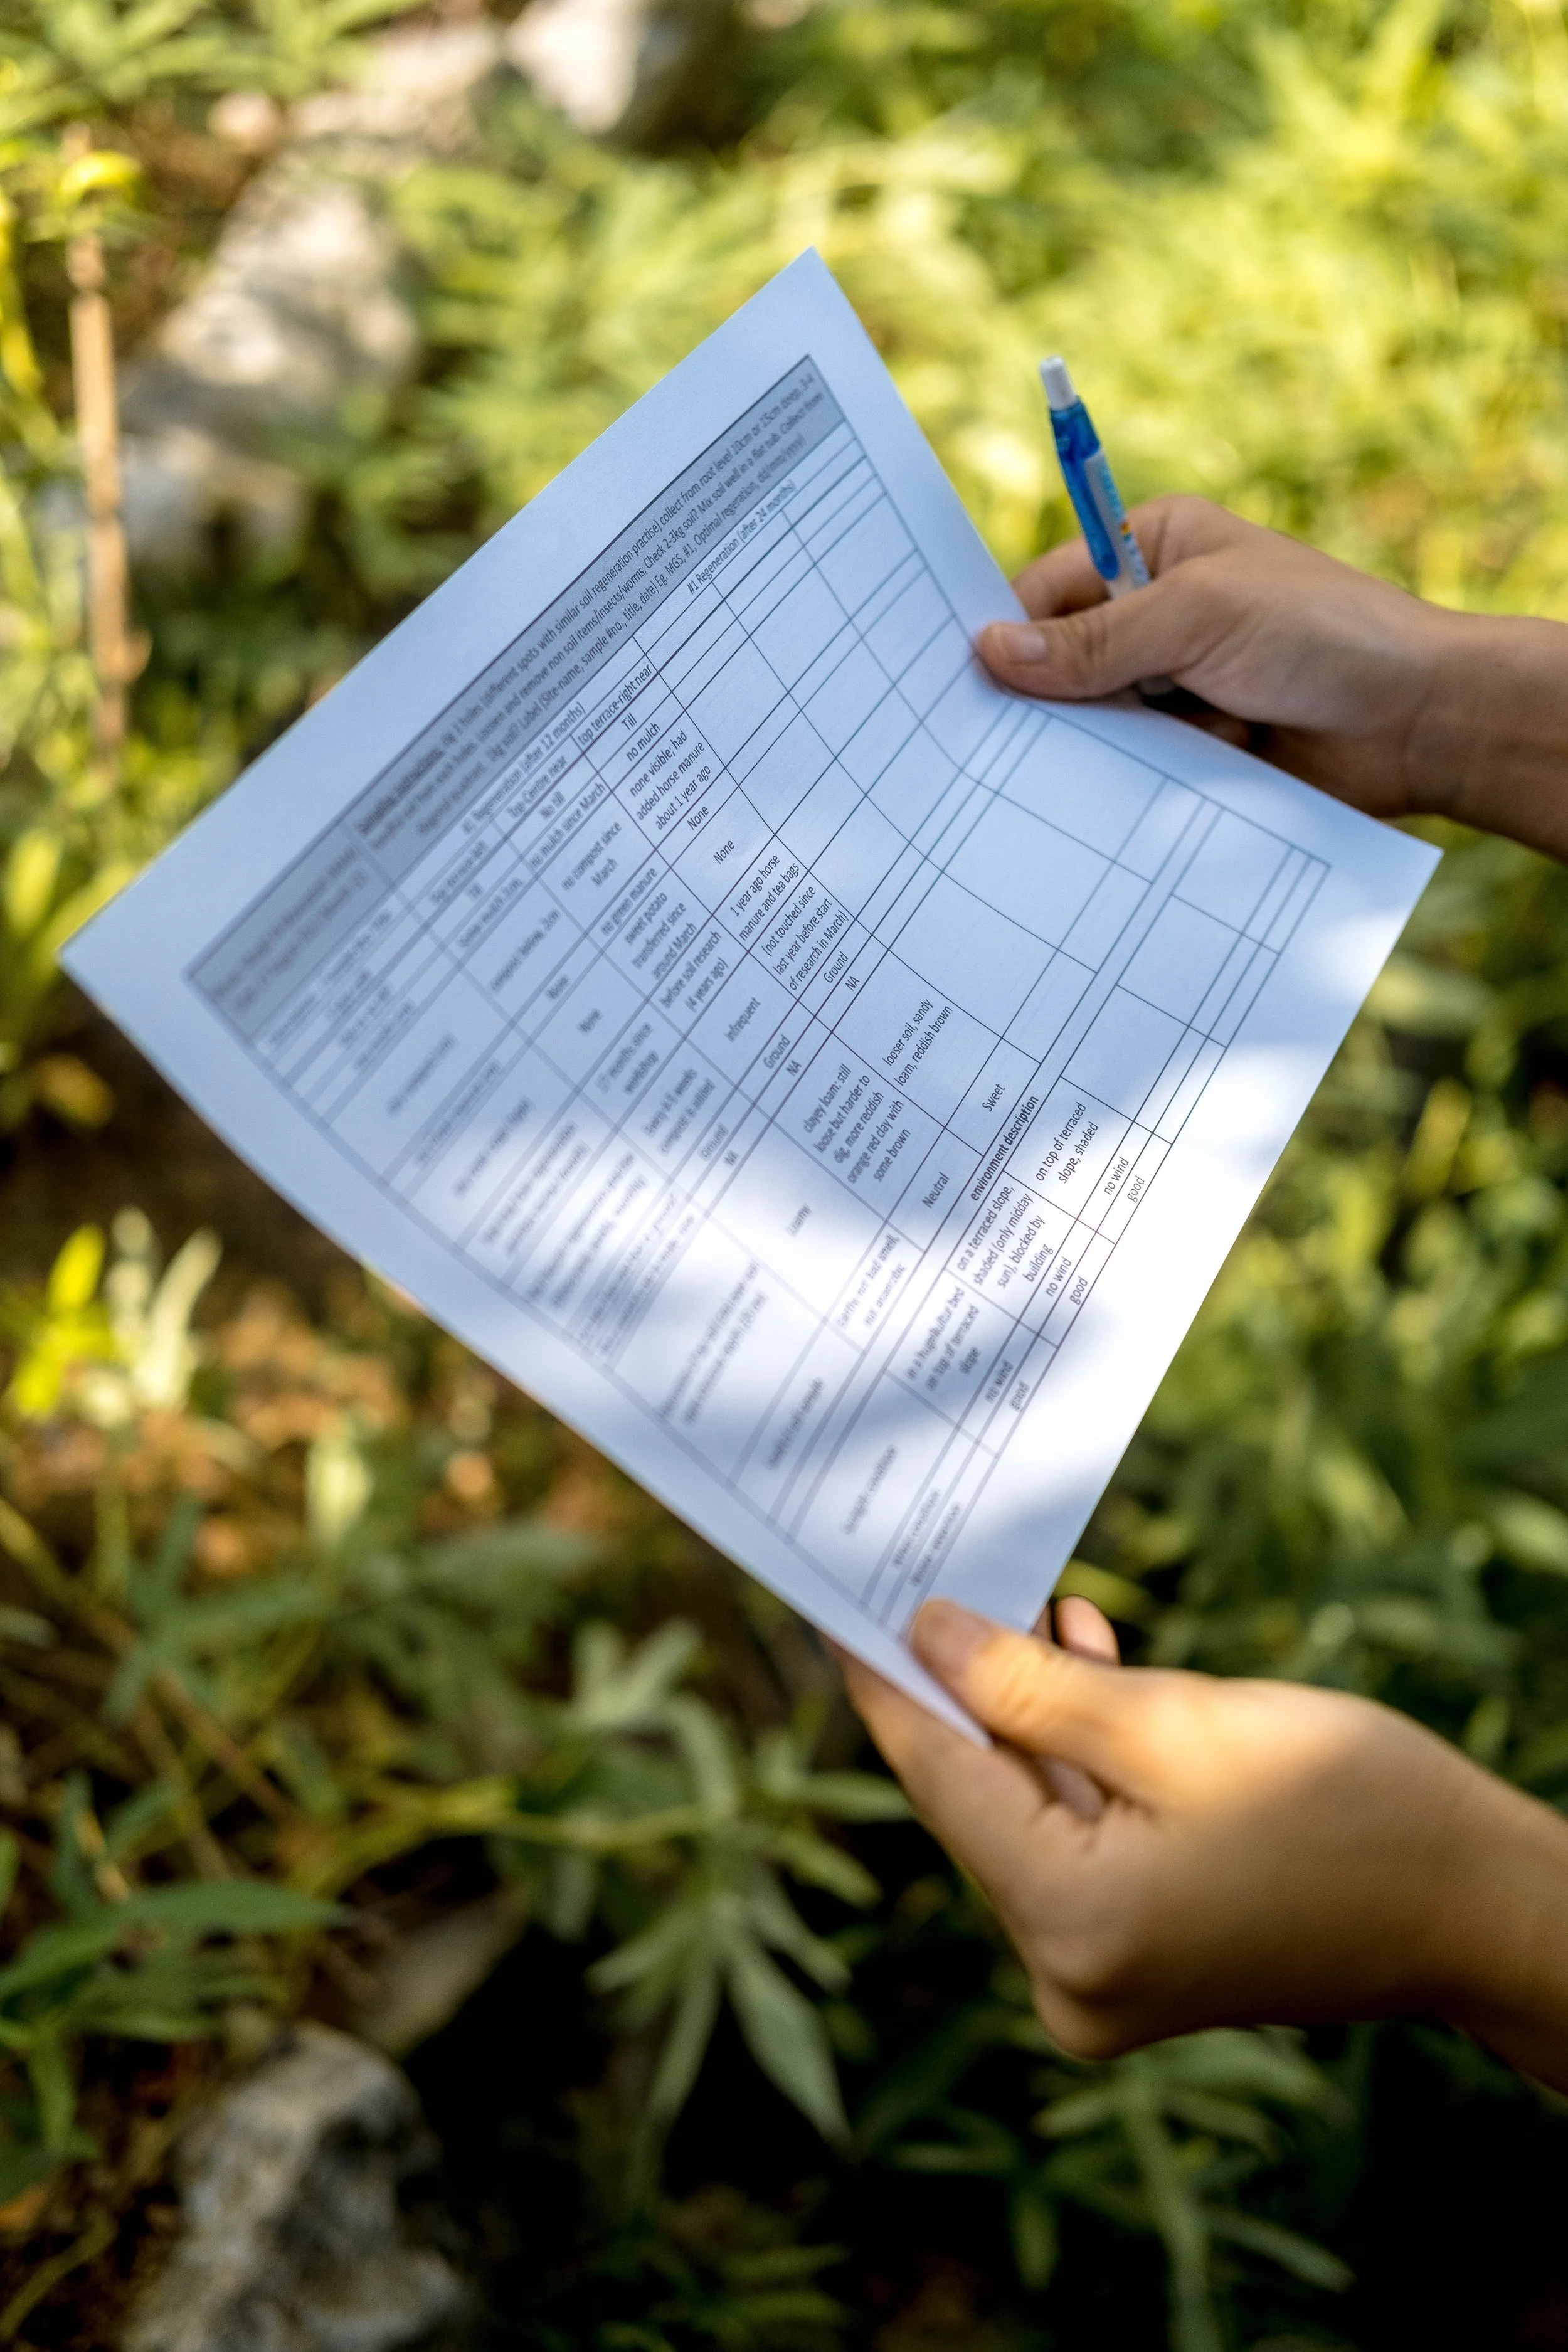
Examples of site surveying
We included all of these considerations as part of our soil regeneration garden research supported by the National Parks Board (NParks). Our fieldworkers made observations on the past and present conditions of the soil in the gardens we are working with, and the gardens’ environment and surroundings.
Historical and Existing Soil Conditions:
When it came the soil conditions, many of our gardens faced similar issues of compacted soil, plenty of construction debris and rubbish in the soil at the initial phase. Examples include Wah Son garden and MGS garden, where the gardeners had to spend a considerable amount of time and hard labour to clear from the soil the debris and concrete slabs that had previously been buried by construction companies.
Environment around the space and natural weather elements:
In Singapore, many, if not most, of the community gardens are integrated within or surrounded by tall urban or natural infrastructures such as high-rise HDB buildings and trees, effectively blocking out sunlight in parts of the garden spaces. For example, one of the community gardens in Bukit Batok is nestled between two 12-storey HDB buildings, and there is also a towering raintree in the middle of the garden. It is also noted that the government contractors do regular pruning of the big trees, allowing the garden to have more light seasonally. A nice balance between shady and sunny spots at various times of the year allows for the planting of a diverse number of plant species to enhance the resilience of the ecosystem.
The garden at Masjid Al-Mawaddah also has buildings and tall trees in its space that could block out sunlight in certain parts of the space. Hence, plants that need full sun would likely not be suitable to be planted in these areas. Another example is the Siglap South community garden, located in the compounds of the Siglap South Community Centre (CC), where the CC building itself and the surrounding tall walls shield out sunlight from coming in throughout most of the day. As a result, trees like moringa and mulberry would grow too tall while reaching out for sunlight.
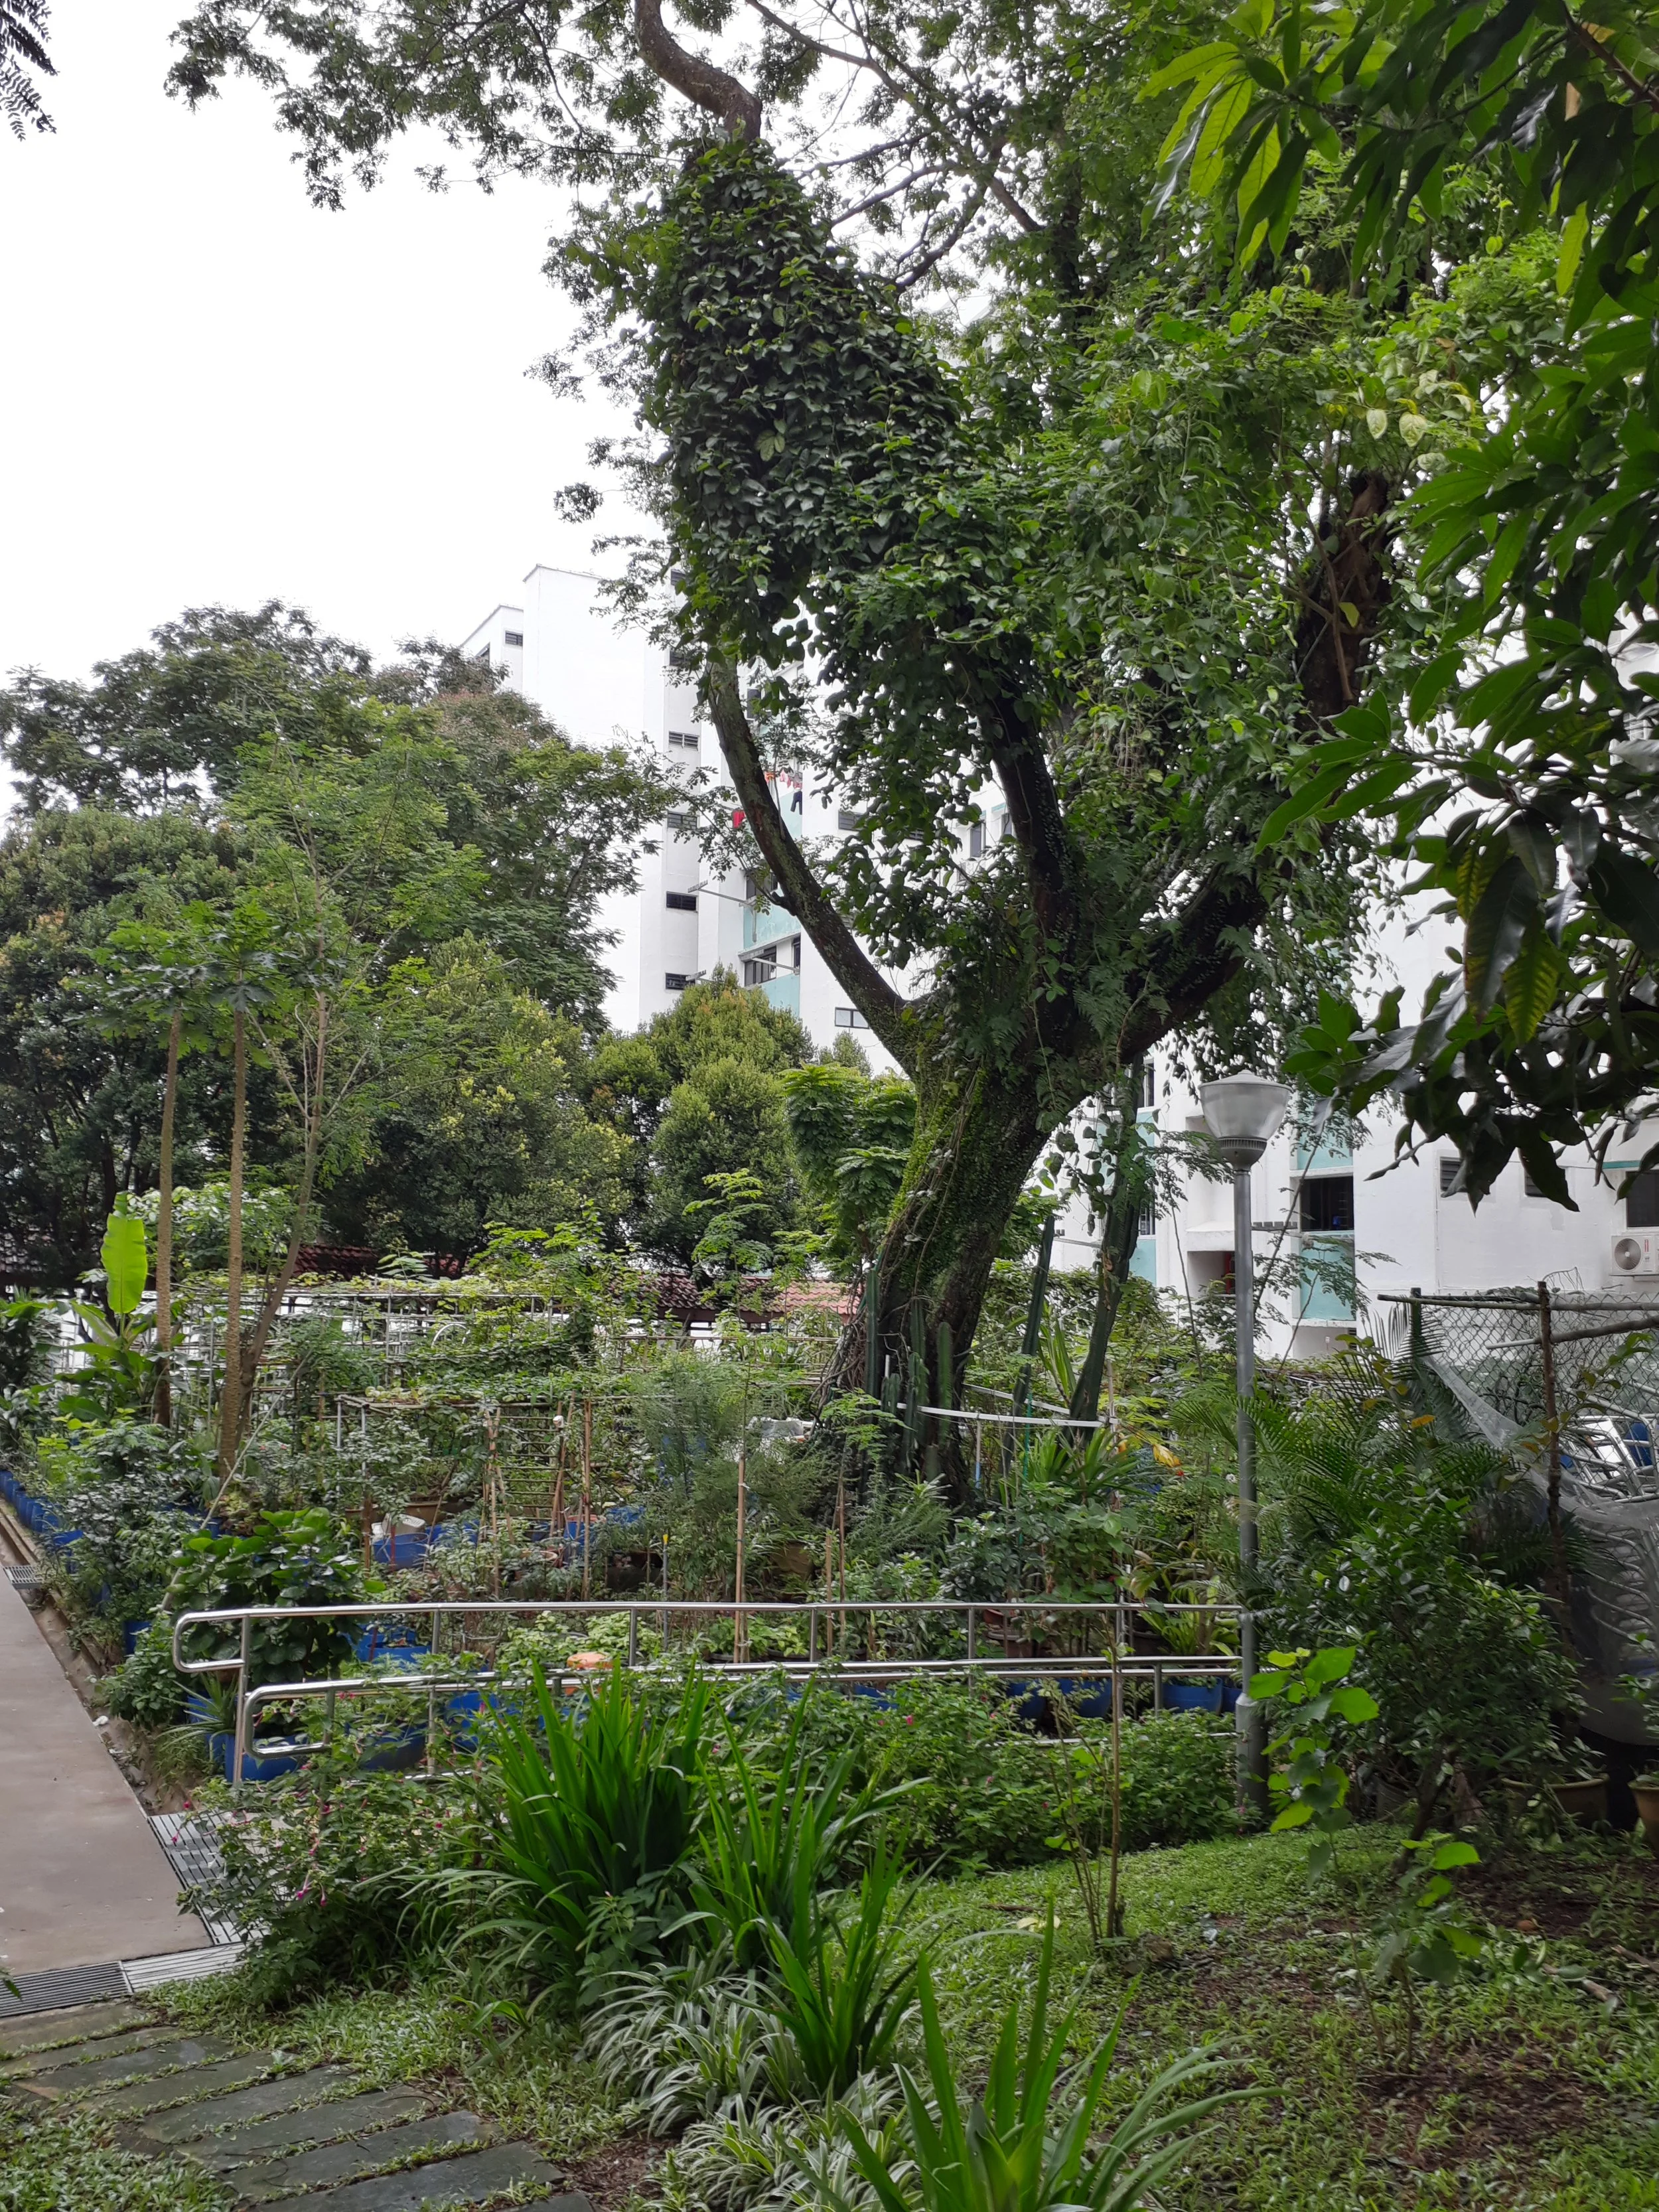
The central raintree at Bukit Batok garden creates shade to be considered considered when gardening around it
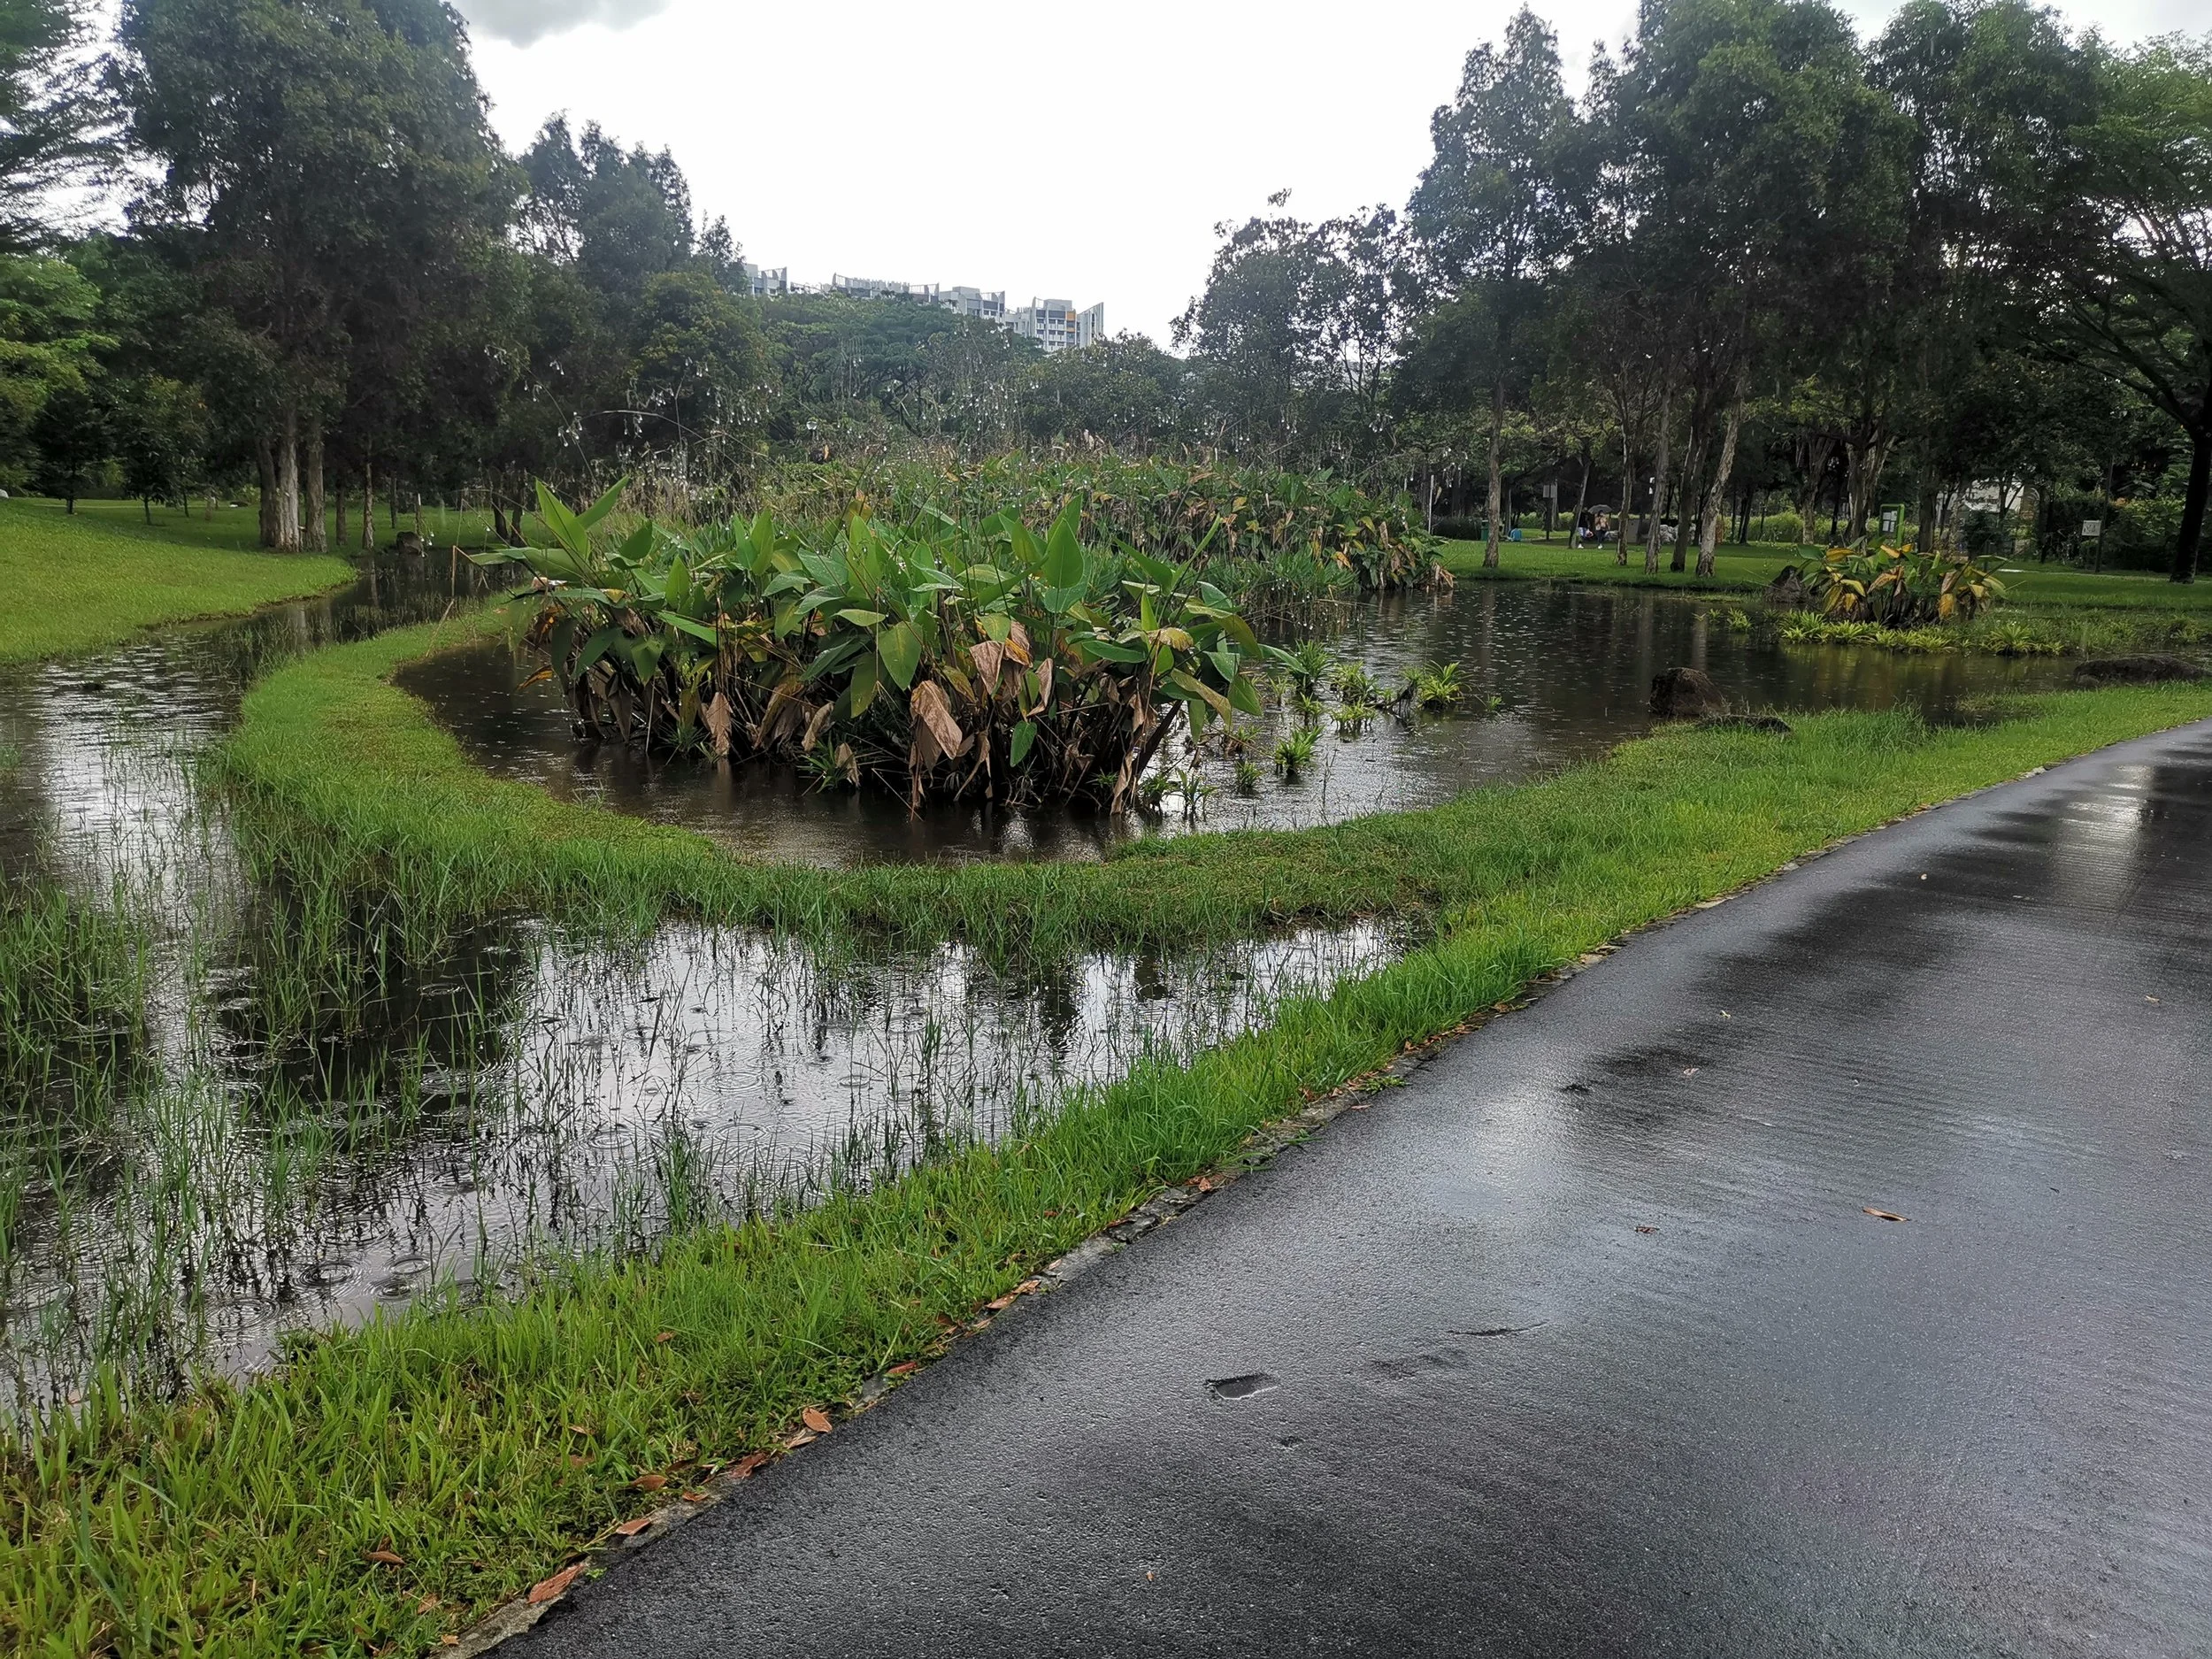
The pond at Jurong Central Park supports in attracting biodiverse species to the gardens located near it
Presence of living creatures:
In some of the gardens we work with in our research, we observed that the surrounding environment and presence of living creatures supported the diversity of the garden and the health of the plants there. One such example is Jurong Central Park, where Boon Lay Nature Garden is located. Besides the vast green spaces within the neighbourhood park, there are two water ponds nearby, as well as two other gardens, for example, a raised bed allotment garden and a Community in Bloom garden. The ponds support attracting diverse species. One can spot dragonflies at the pond area, carpenter bees, various species of butterflies and moths, an occasional egret, waterhen and even heron straddling by.
Yet another example is the private garden at Woking Road that is located near to the Rail Corridor (south) and thus attracts wild animals such as squirrels and snakes to the space. The Rail Corridor was Singapore’s former railway line that was used for commuting and transfer of goods between Singapore and Malaysia. Stretching 24km from north to south of Singapore, it is a rich ecological corridor and habitat to a rich diversity of flora and fauna.
Garden design to be adopted and water points:
An observation made on our rooftop community gardens or cemented raised bed garden is that the heat and temperature experienced in these garden beds tend to be higher. An example is the rooftop community garden at Yishun Green Walk, which uses cemented raised garden beds. Apart from contending with the heat, especially on a sunny day, the rooftop gardener also had to look more closely into water irrigation and drainage issues since the water tends to evaporate faster under the heat and exposure to wind. At the other community gardens that are ground-based, such as the school garden at MGS and the Boon Lay Nature Garden at Jurong Central Park (JCP), they do not have any irrigation system in place and the gardeners either do manual watering or more mulching to prevent the soil from drying up on a hot day.
Soil assessment: getting to know your soil
After the site survey, the next preparatory step is to do a soil assessment to learn about the nature of the existing soil that you are working with. You may initially consider sending some soil samples to a laboratory in Singapore for analysis if necessary. However, soil lab tests can be costly and may not always be necessary at this stage. Instead, there are other more accessible ways to get a sense of your soil conditions. This is where you can get up close and personal with the space you are creating your garden; engage all your senses in making these soil observations!
Below, we introduce two different methods that you can use to assess your soil. The first is to conduct an analysis using the different senses that you have! The second method is a well known test that can be used whether your soil has good structure or needs additional support.
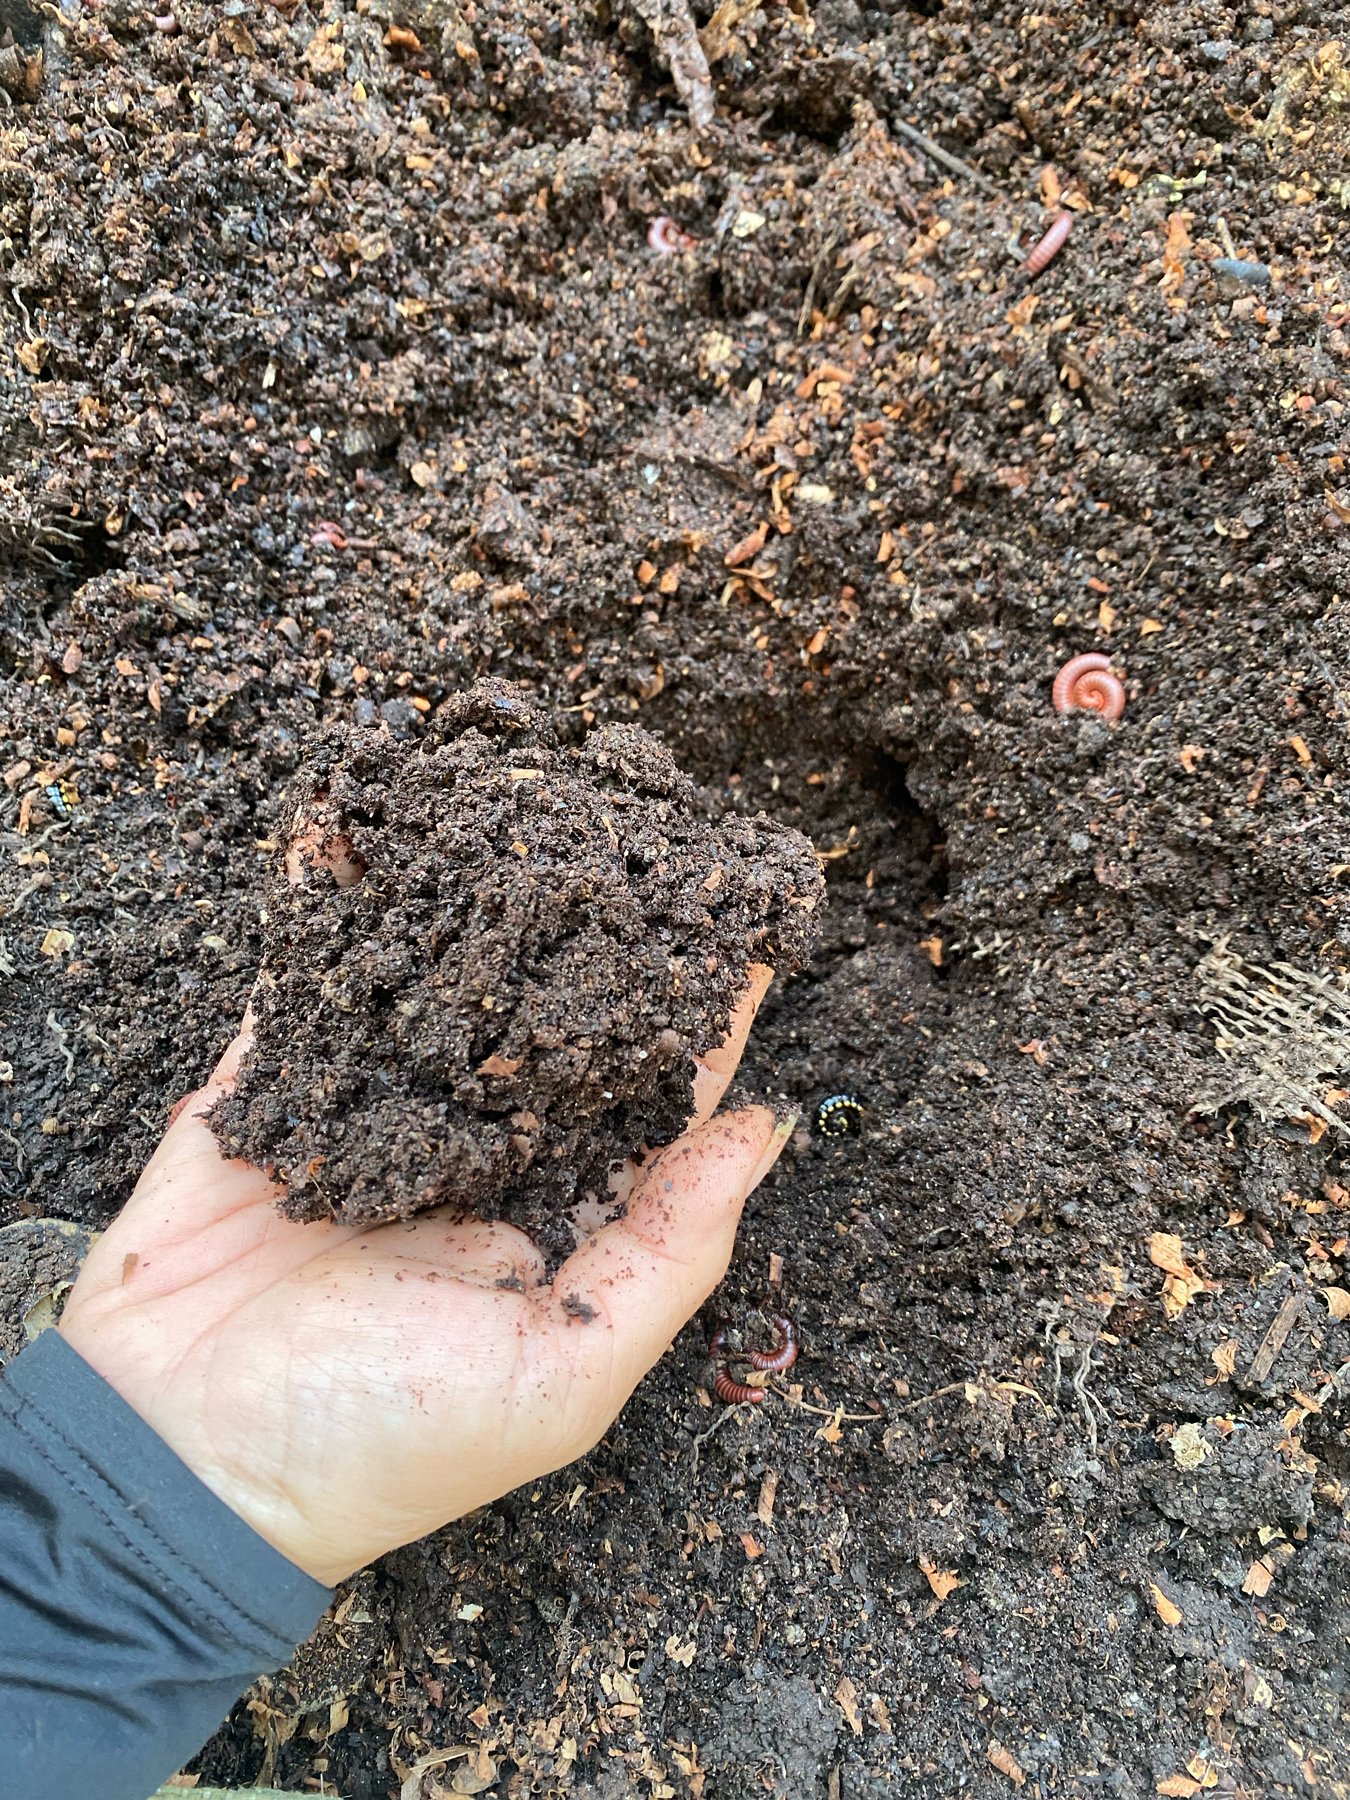
An example of healthy compost soil with a dark color and living organisms throughout
Step 1: Assess the soil with the senses — sight, smell, & touch
SIGHT: Generally if the soil is darker, it means it’s healthier. Healthy soil tends toward a deep, dark brown, closer to 70–80% cocoa than black. Look out for any soil organisms as well: earthworms, ants, millipedes, springtails. Earthworms, especially, provide a good indicator of the biological health and condition of the soil. The more diverse the visible life, the healthier the soil community below.
SMELL: Good soil smells earthy and alive, like the floor of a forest after rain. A sour or stale smell signals that the soil's living community needs support.
TOUCH: Squeeze a handful, then press it with one finger. If it holds its shape and gently crumbles, you likely have loamy soil. If it falls apart, it is sandy. If it holds firmly without crumbling and feels sticky, it is clay-dominant, most common across Singapore's urban gardens.
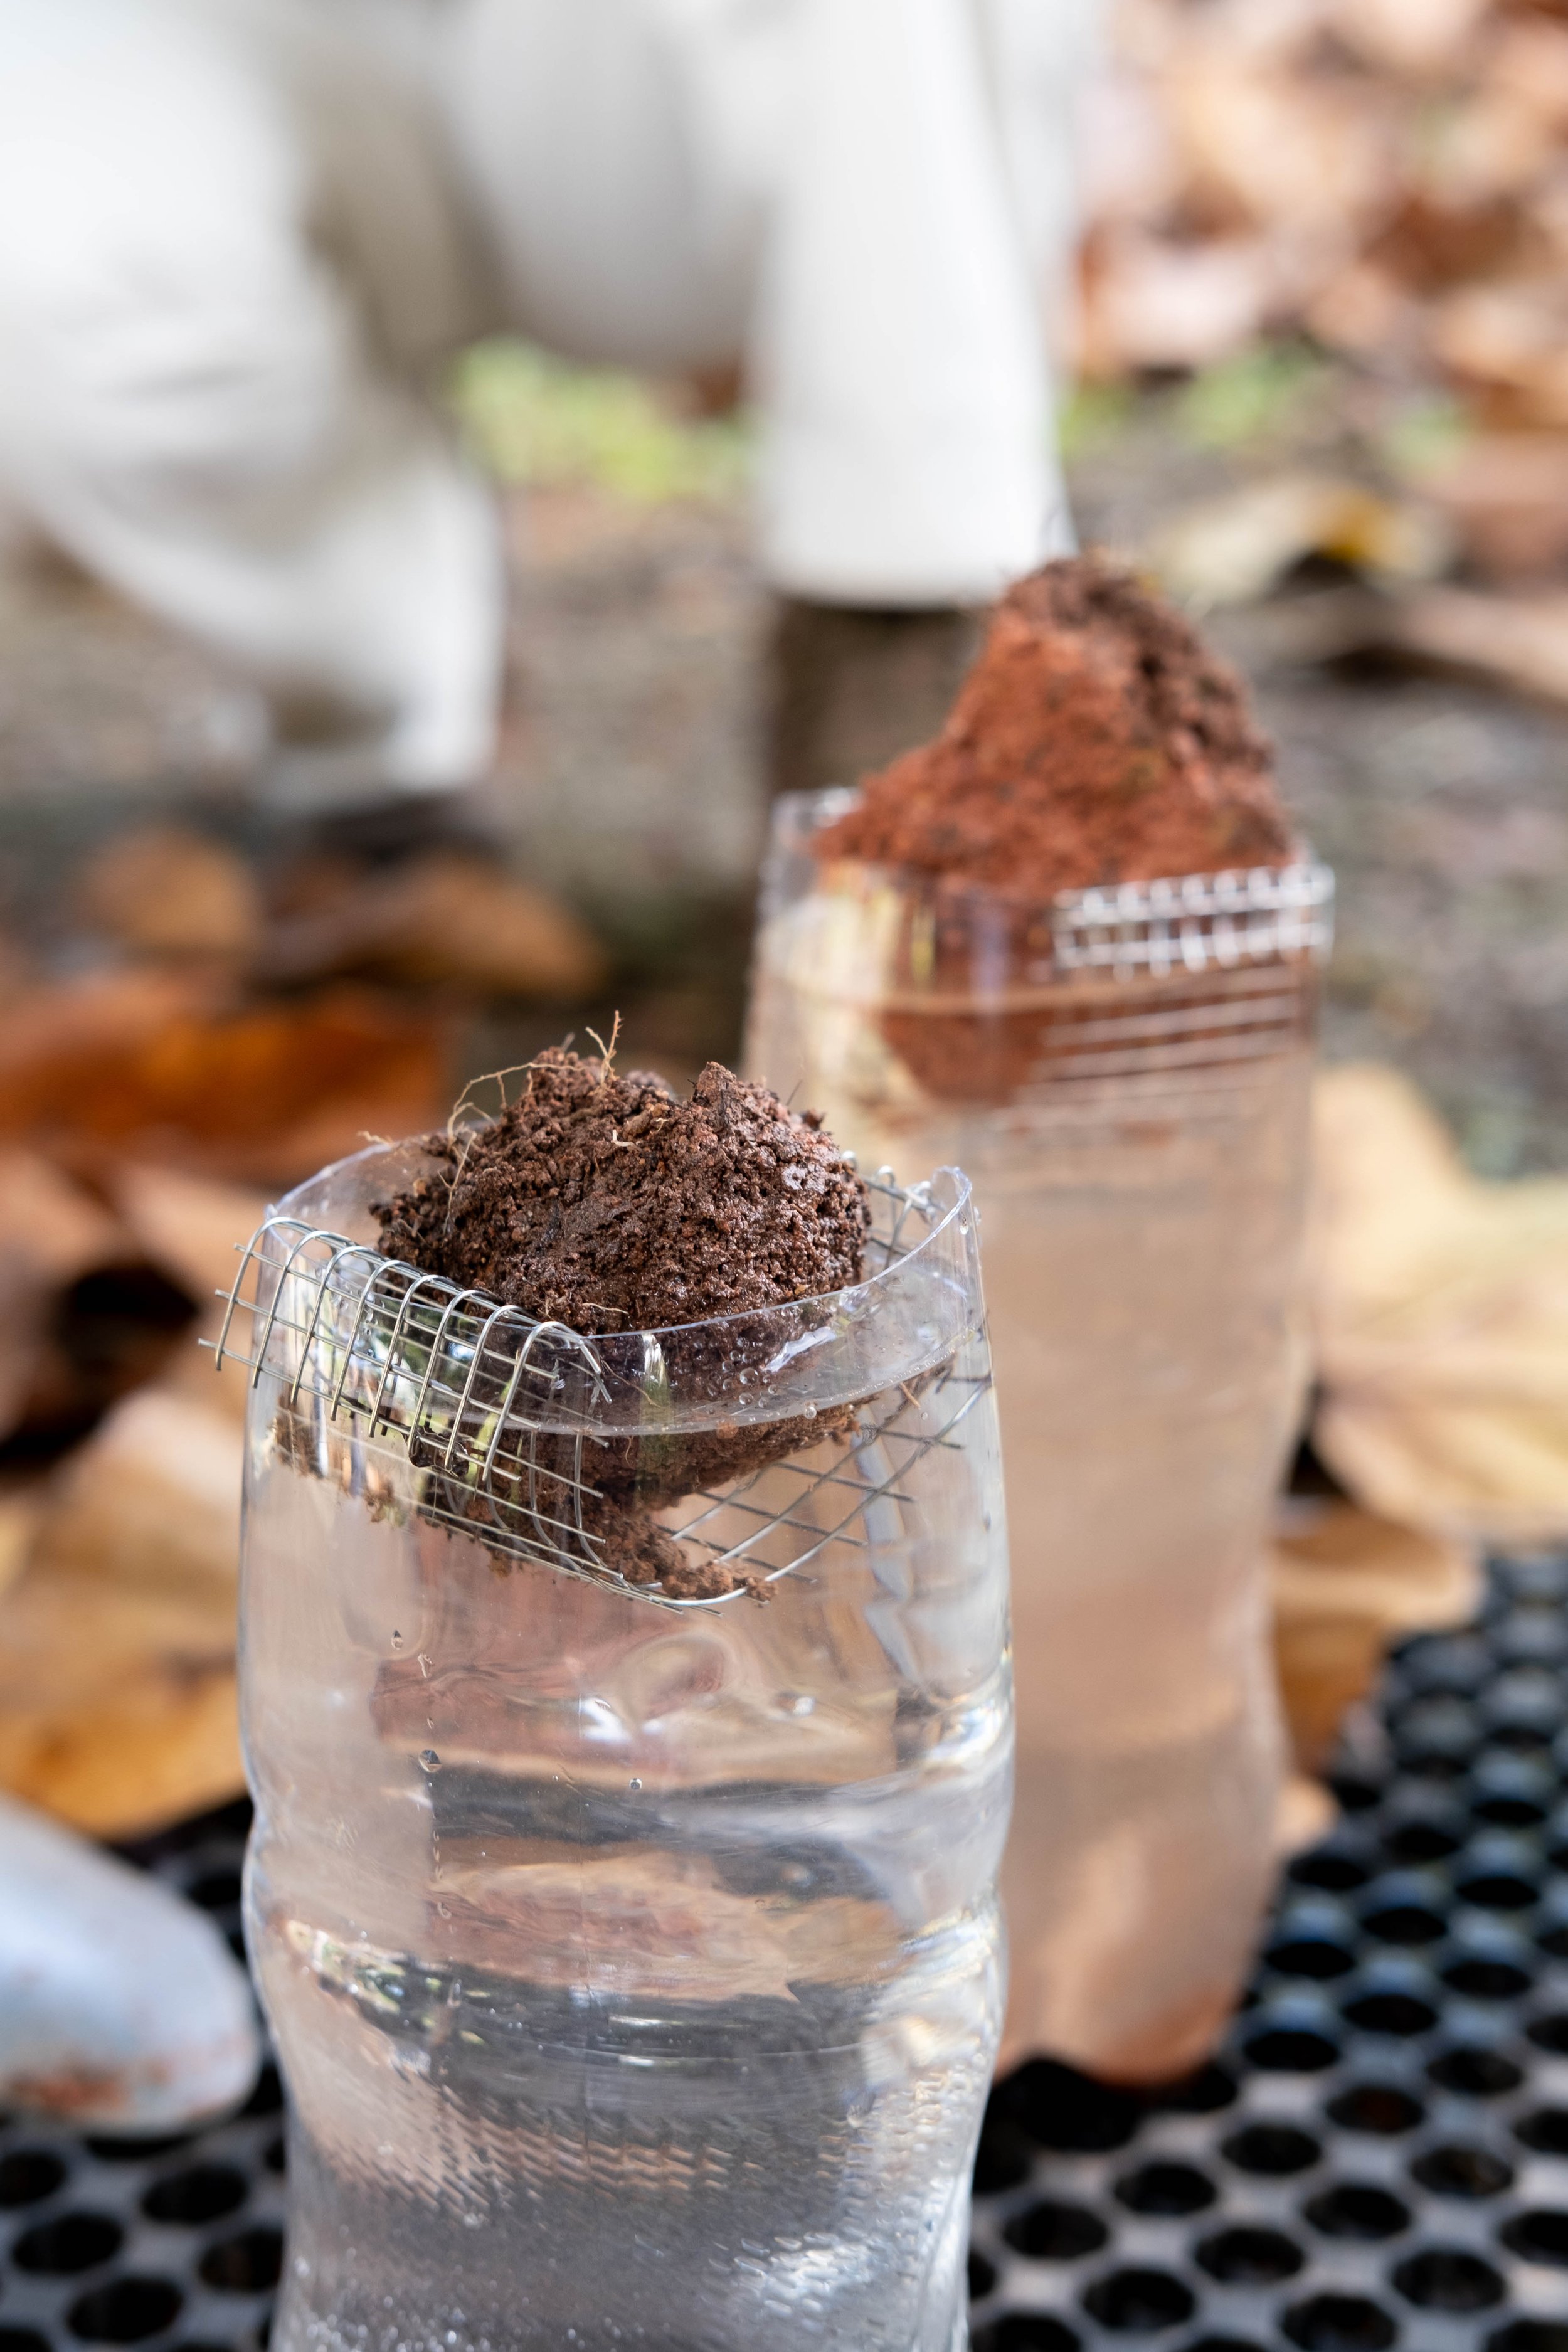
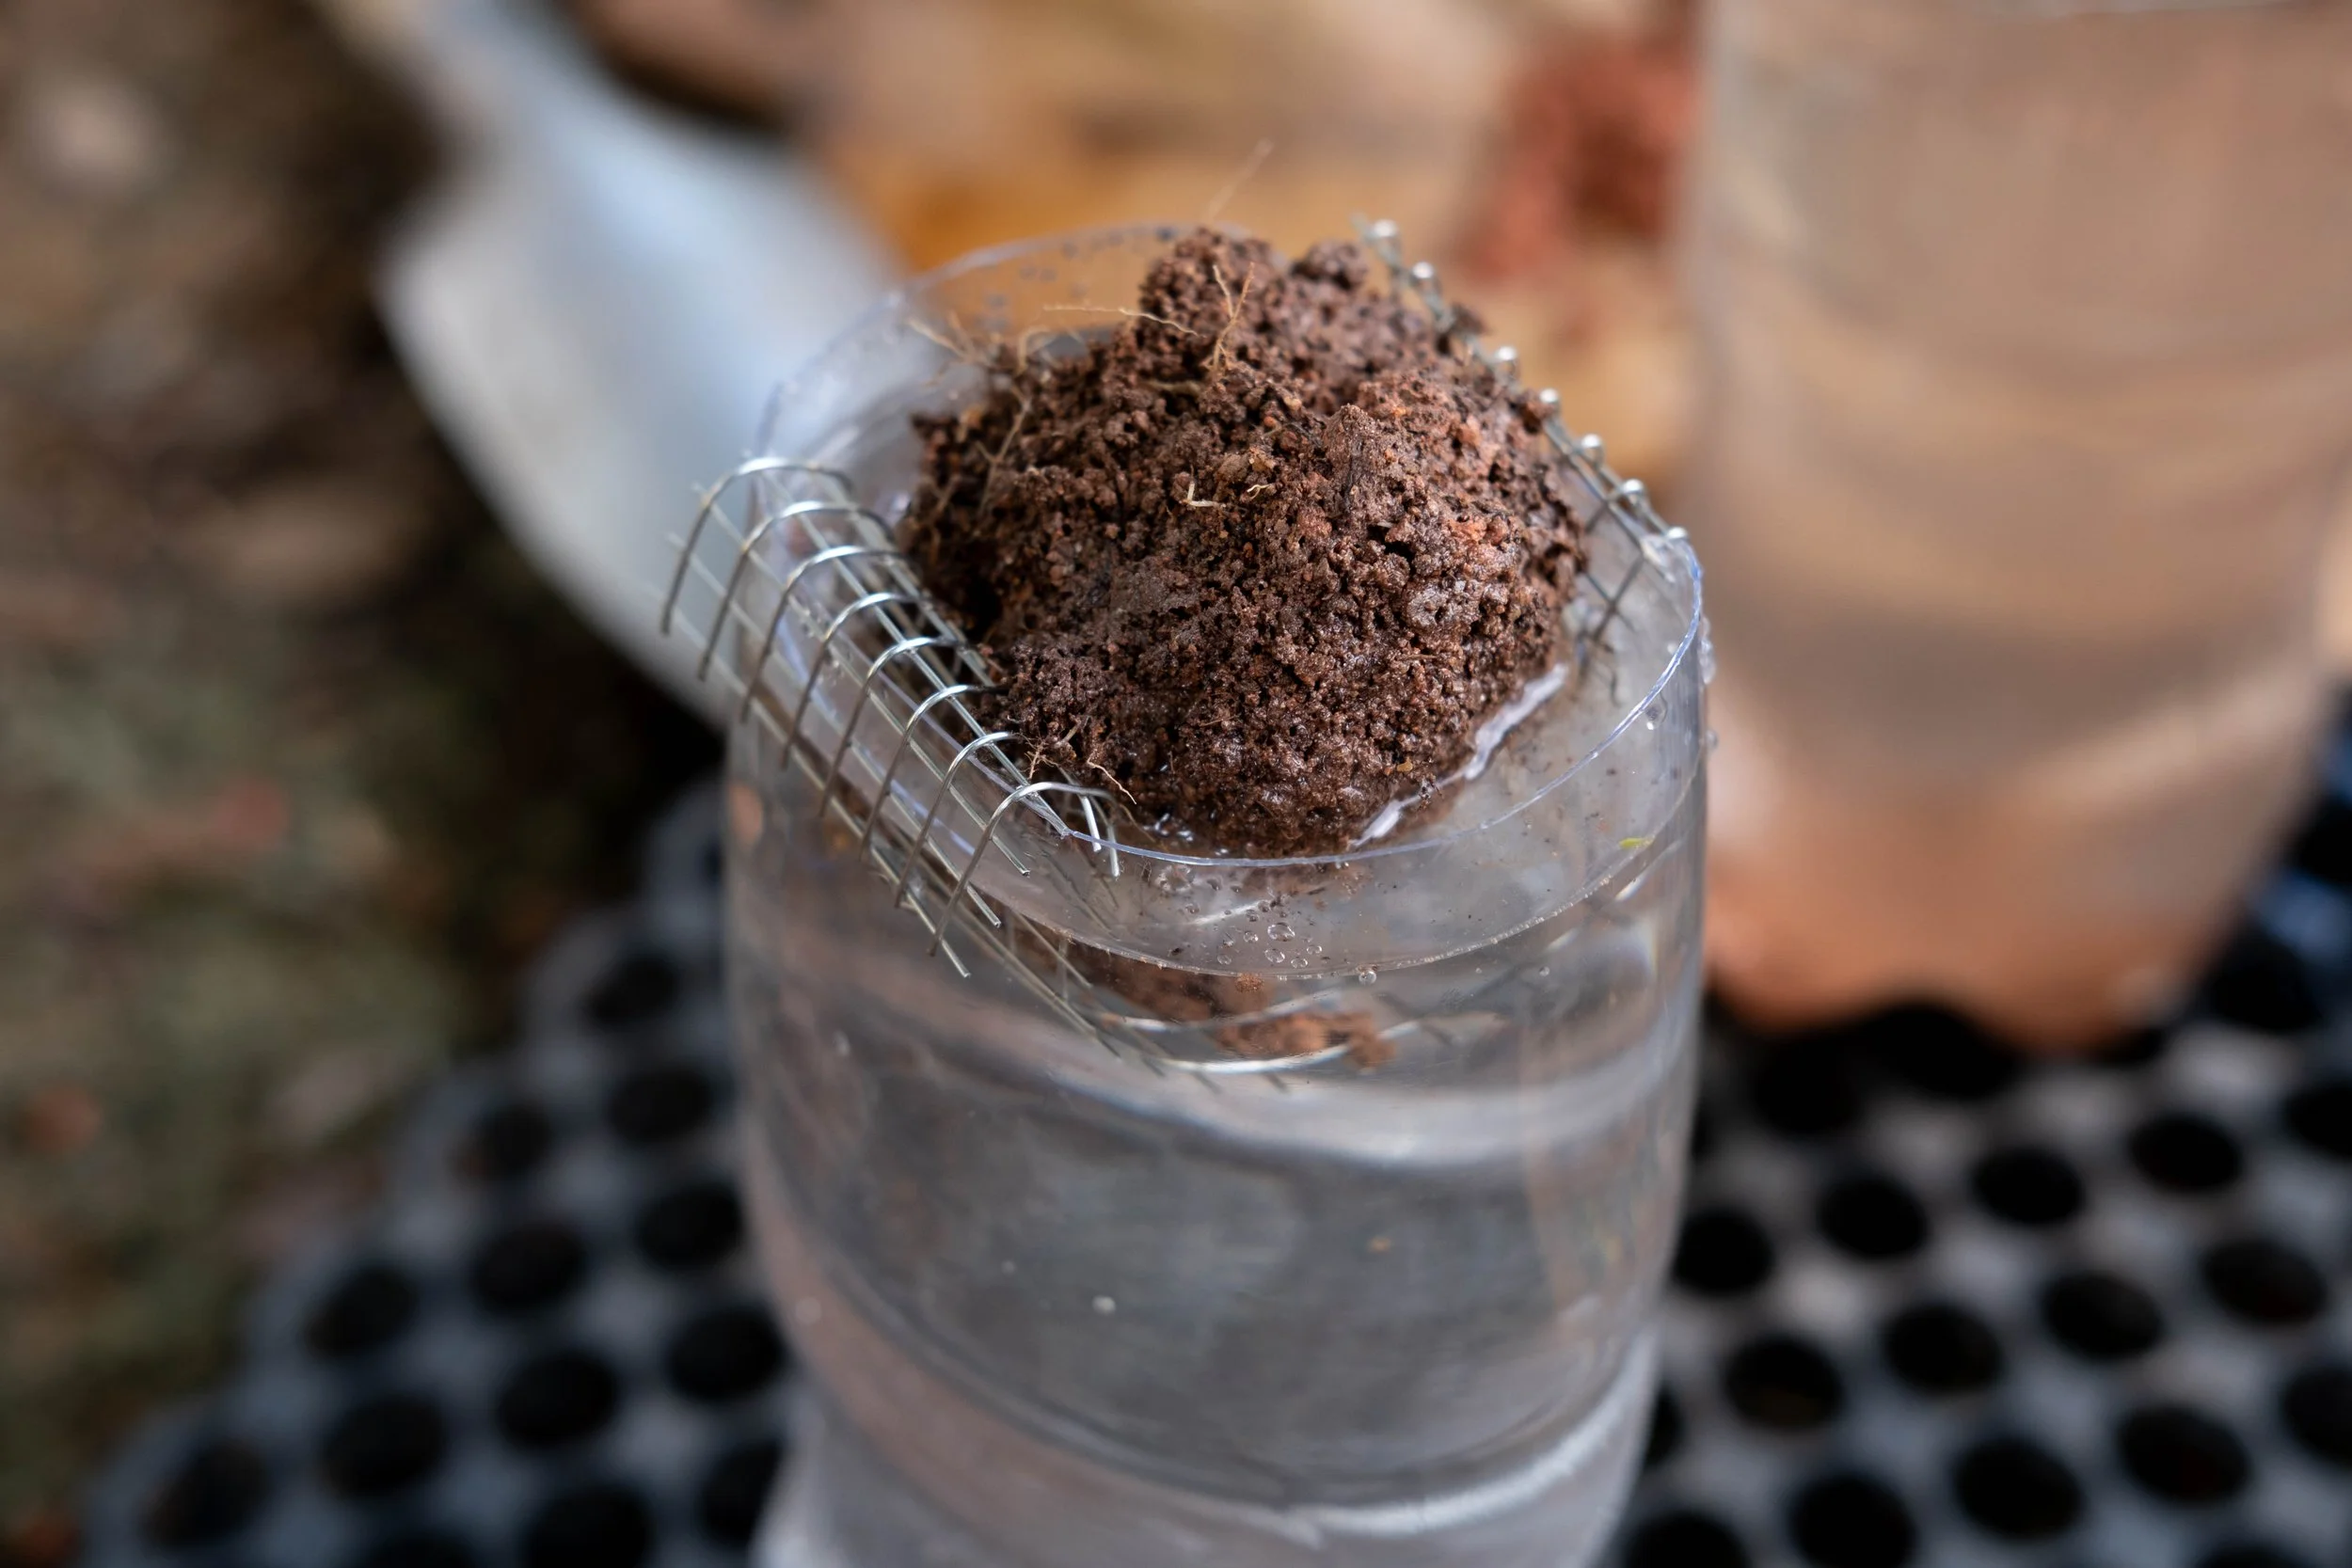
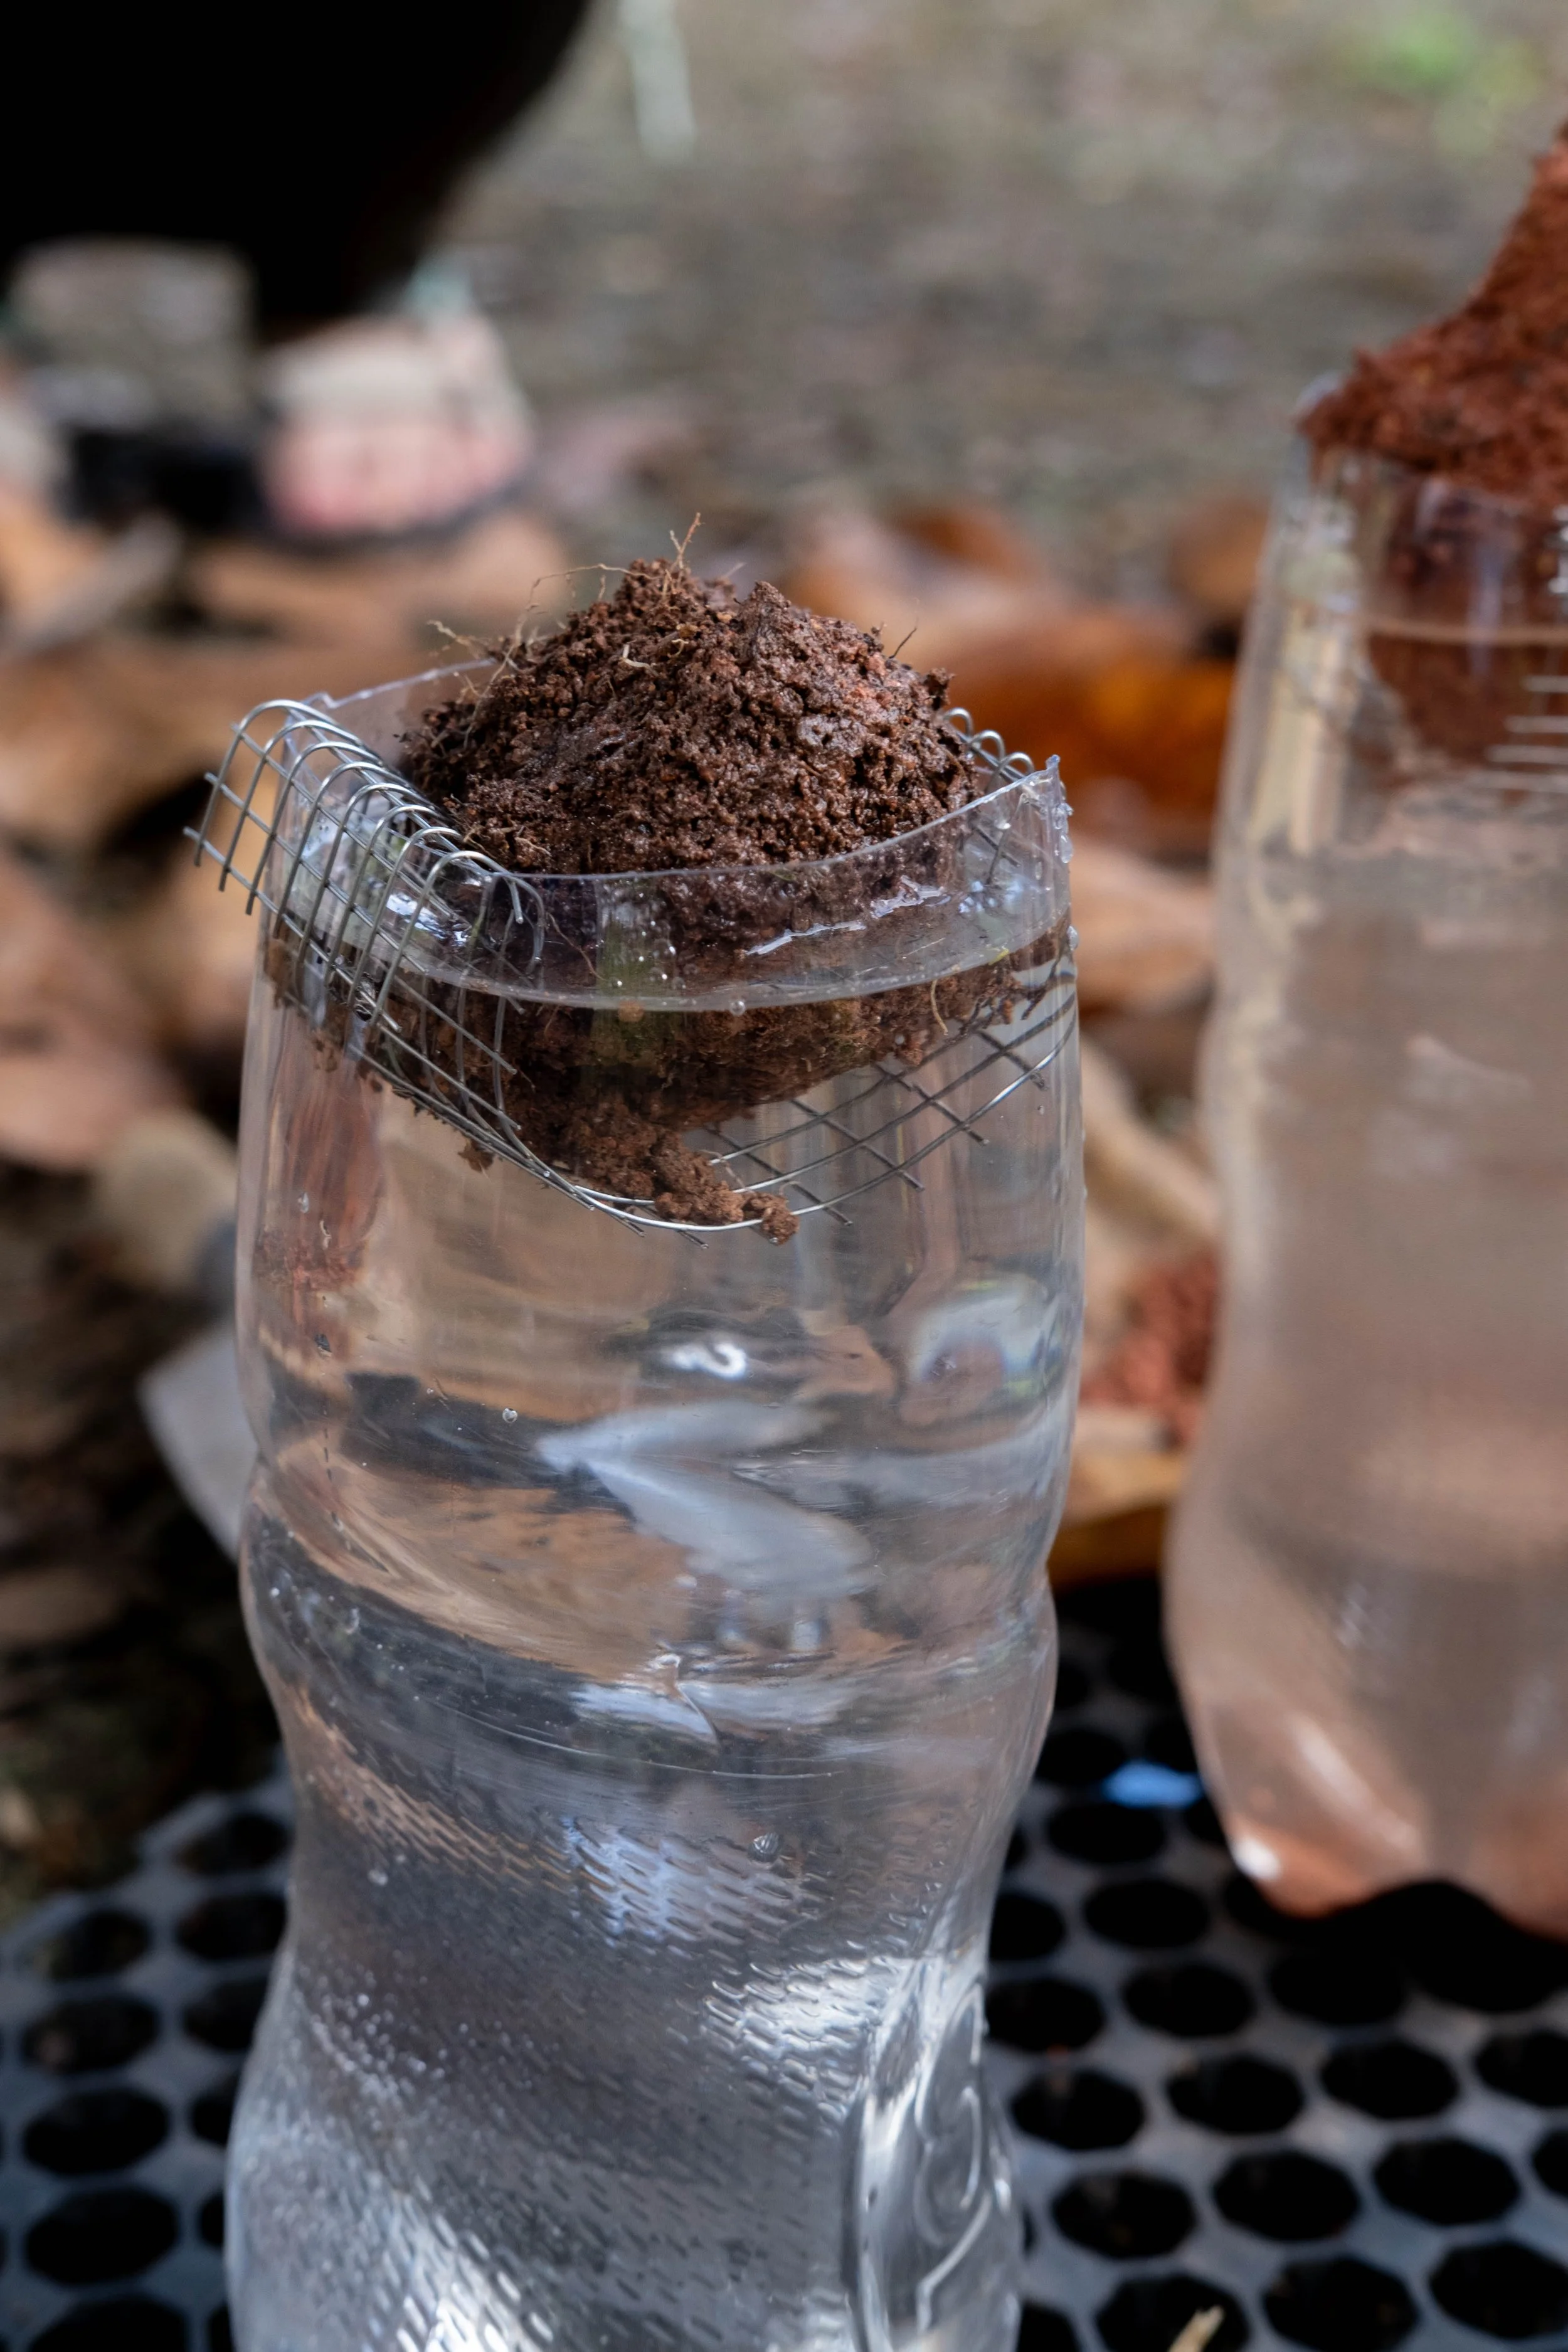
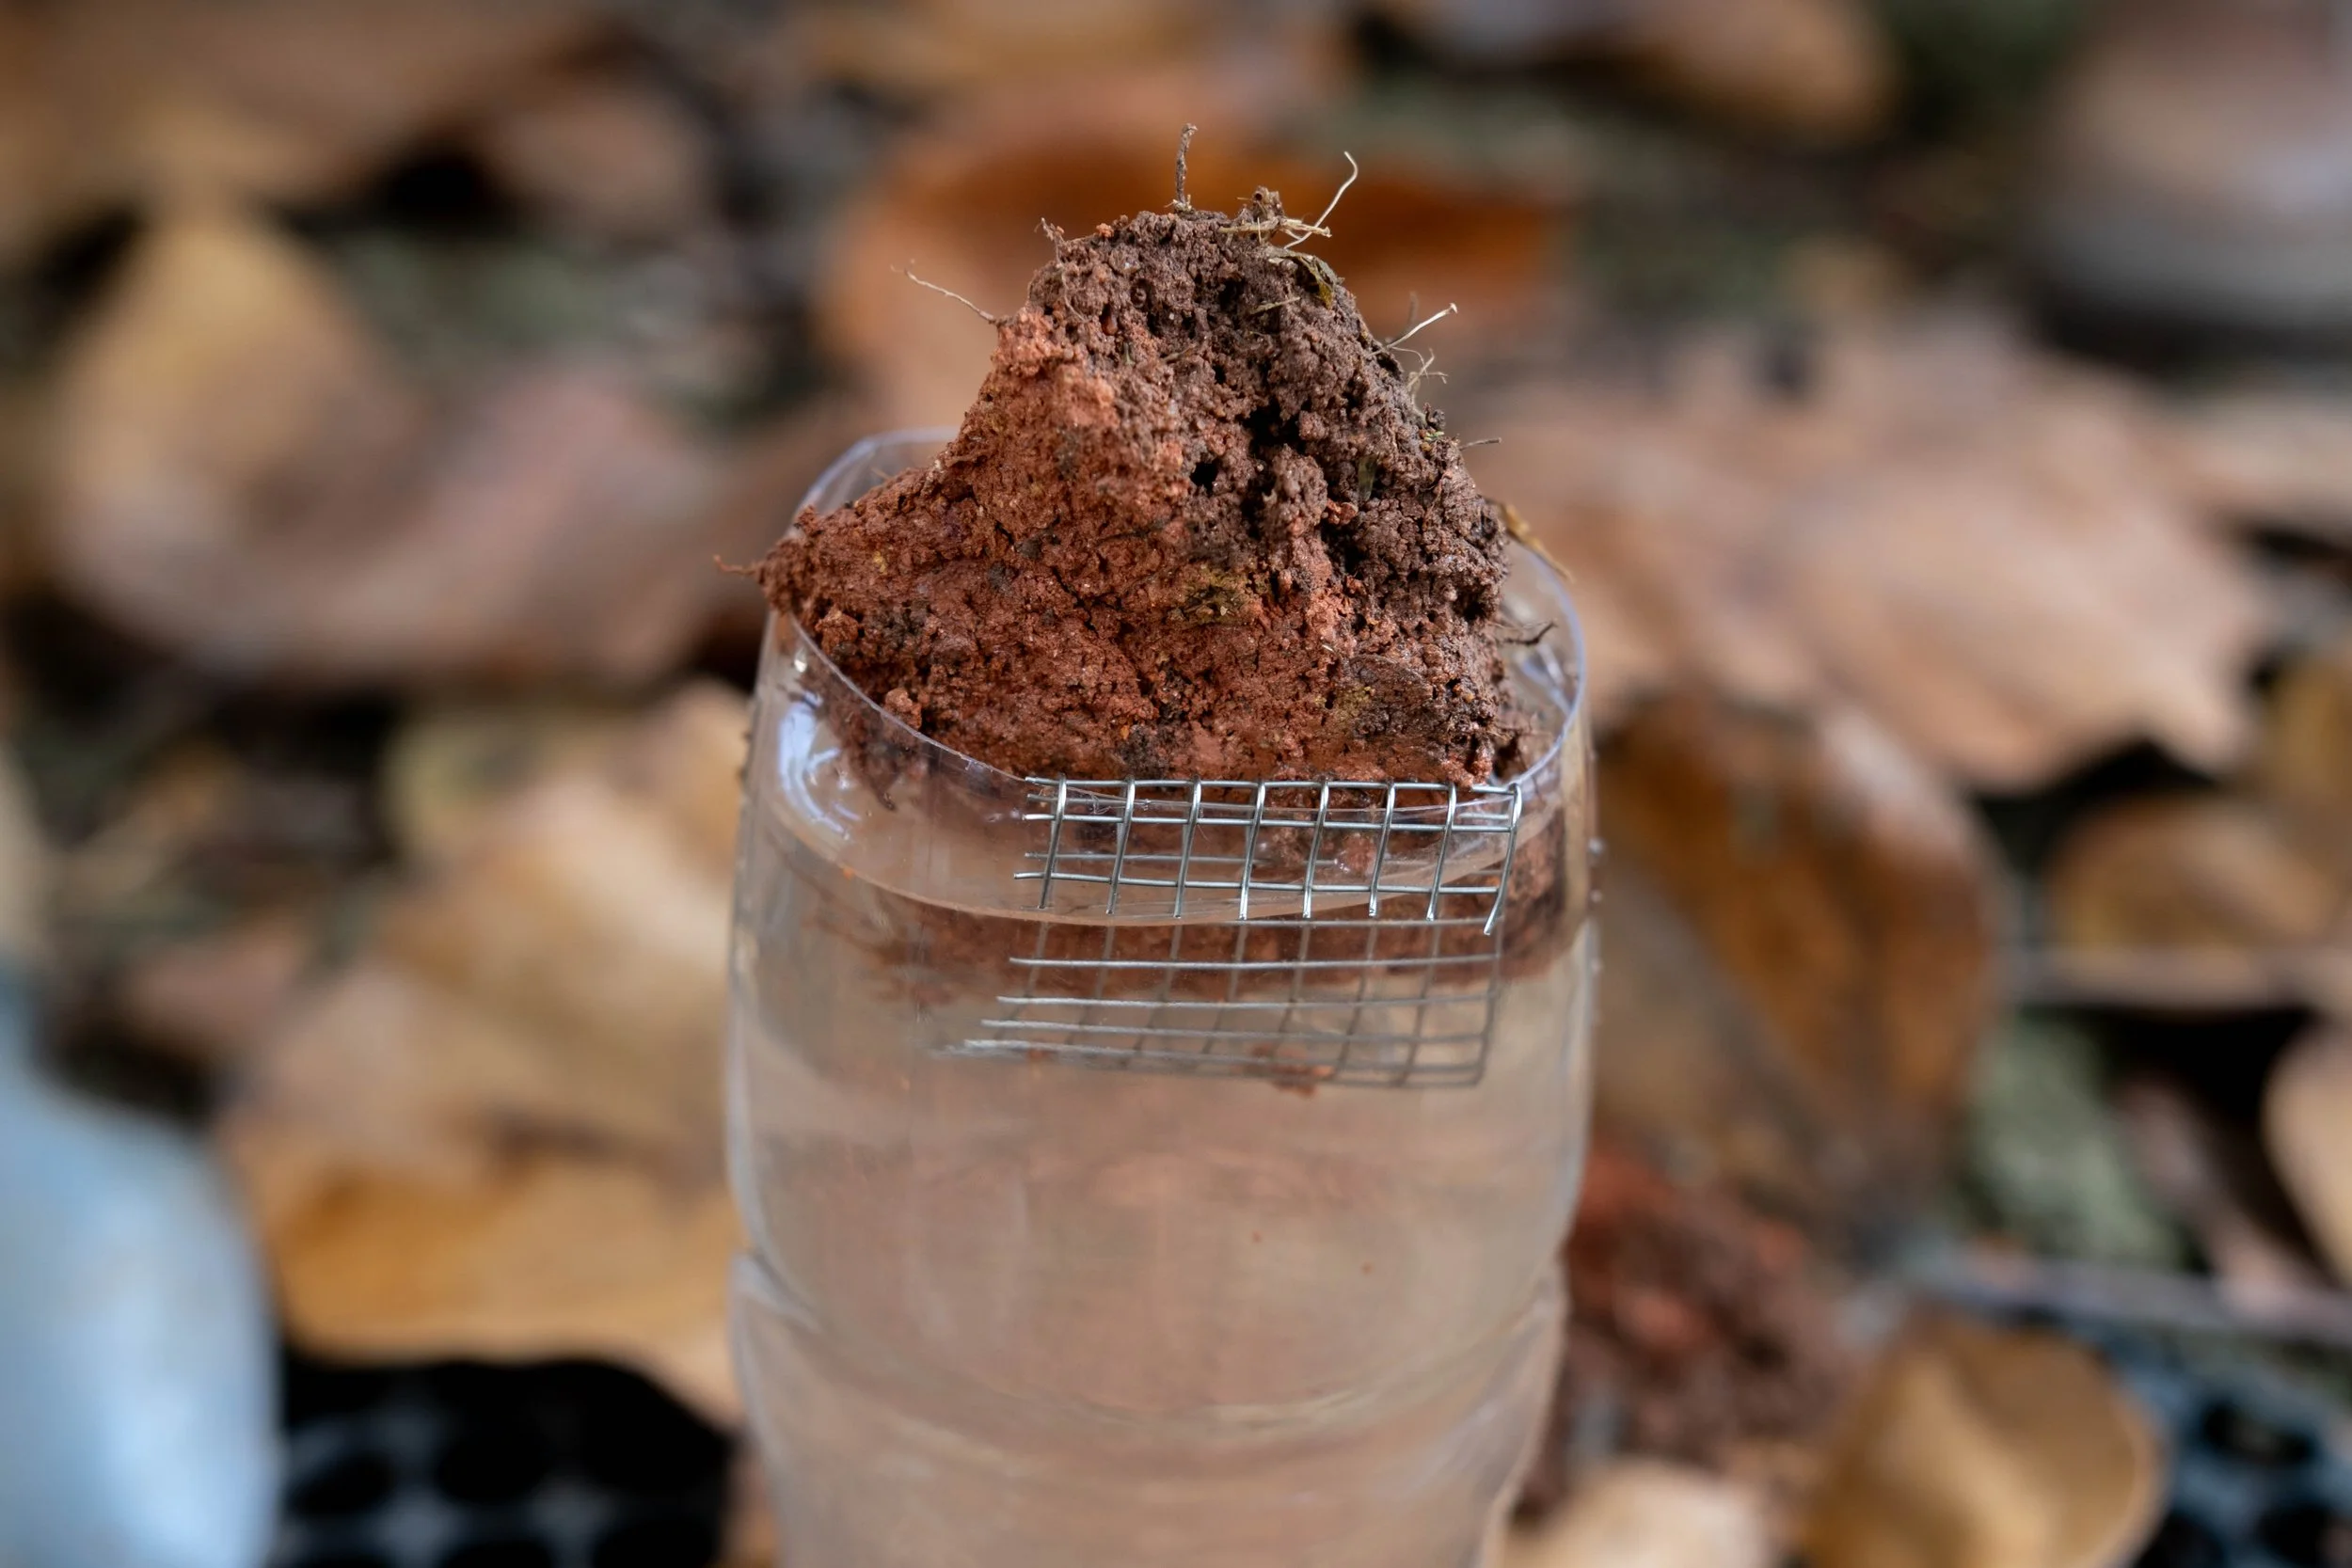
Step 2: The Slake Test
The Slake test, also called the soil stability test, compares two chunks of soil submerged in water to see how well they grow over time.
The steps are as follows:
1. Collect two chunks of soil from different regions or with different structures.
2. Find two long transparent/clear jars large enough to hold the chunks of soil. The jar has to be long enough, at least about 18-20 cm in height.
3. Put together a wire mesh that can be hooked at the top of each jar that will allow the soil to be submerged in the water, and yet be held within the top half of the jar.
4. Fill the jars with water and submerge the two soil samples in the water.
5. Watch to see which soil holds together and which one falls apart. Watch again after 24 hours. The soil with poor structure is the one that will begin to fall apart.
Have a go? Send us pictures!
Watch a full demonstration of the slake test here
What’s next?
Well done! You’ve now gotten a good idea of the current conditions of your soil and site. Next up you can start to look into how to prepare your plant beds for your garden, read up more on the community gardens that were mentioned in this post, or read a story about soil regeneration in Singapore.
